Deploy TKG 1.3 on vSphere, with AVI Load Balancer
Plan your deployment topology:
| Network | VM Network | Subnet | IP Address Pool | Gateway |
|---|---|---|---|---|
| AVI Controller | EGDE-UPLINK-PG | 172.16.0.0/16 | 172.16.0.63 | 172.16.0.1 |
| Management Network | EGDE-UPLINK-PG | 172.16.0.0/16 | 172.16.0.176-172.16.0.191 | 172.16.0.1 |
| Management Cluster | EGDE-UPLINK-PG | 172.16.0.0/16 | 172.16.0.192 | 172.16.0.1 |
| k8s1 Cluster | EGDE-UPLINK-PG | 172.16.0.0/16 | 172.16.0.193 | 172.16.0.1 |
Install and configure AVI Load Balancer
-
Download and import the OVA using
govcif you want to use the cli{ "DiskProvisioning": "flat", "IPAllocationPolicy": "dhcpPolicy", "IPProtocol": "IPv4", "PropertyMapping": [ { "Key": "avi.mgmt-ip.CONTROLLER", "Value": "172.16.0.63" <----- CHANGE THIS }, { "Key": "avi.mgmt-mask.CONTROLLER", "Value": "255.255.0.0" <----- CHANGE THIS }, { "Key": "avi.default-gw.CONTROLLER", "Value": "172.16.0.1" <----- CHANGE THIS }, { "Key": "avi.sysadmin-public-key.CONTROLLER", "Value": "" } ], "NetworkMapping": [ { "Name": "Management", "Network": "EDGE-UPLINK-PG" <----- CHANGE THIS } ], "MarkAsTemplate": false, "PowerOn": true, "InjectOvfEnv": false, "WaitForIP": false, "Name": "avi-controller" <----- CHANGE THIS }Store the file as
avi.jsongovc import.ova -options=avi.json controller-20.1.2-9171.ova -
Once the VM is running in vCenter, access the AVI Controller VM IP in the browser
https://172.16.0.43or use the DNS recordhttps://avi.lab.int -
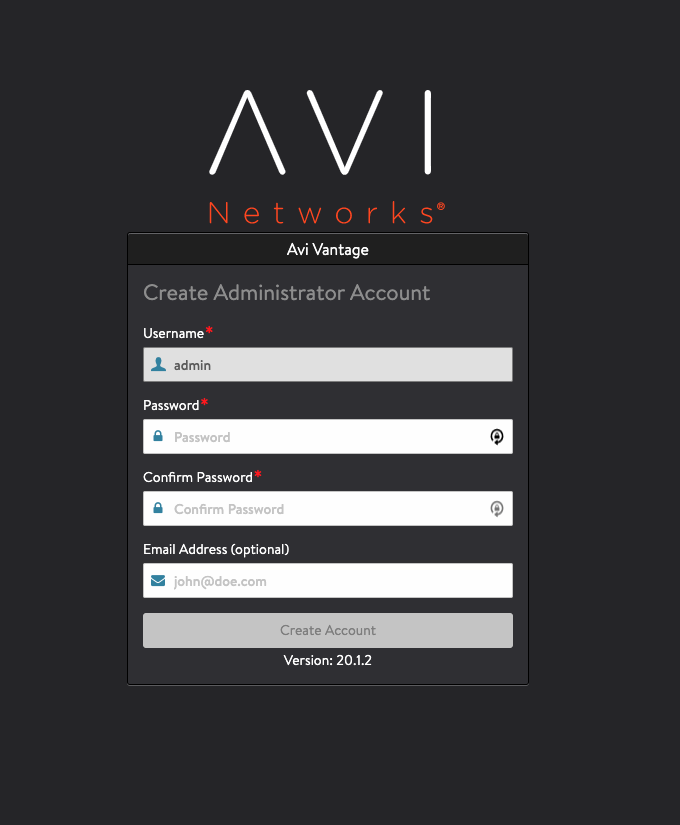
Create the Administrator Account
-
Configure the system settings (DNS/NTP & Backup passphrase)

-
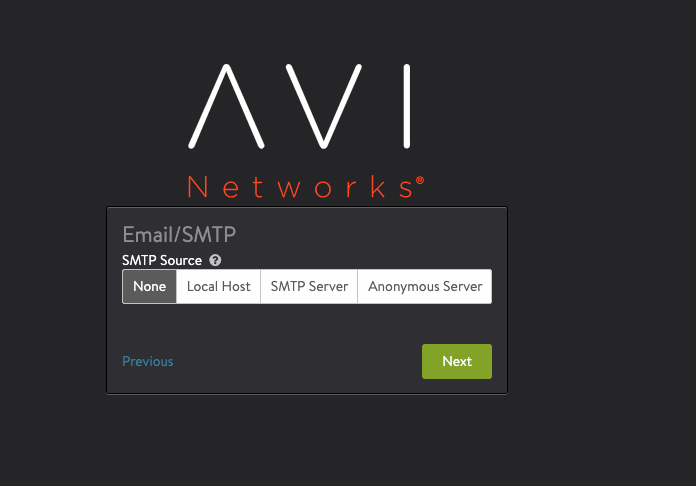
Optionally configure the Email/SMTP
-
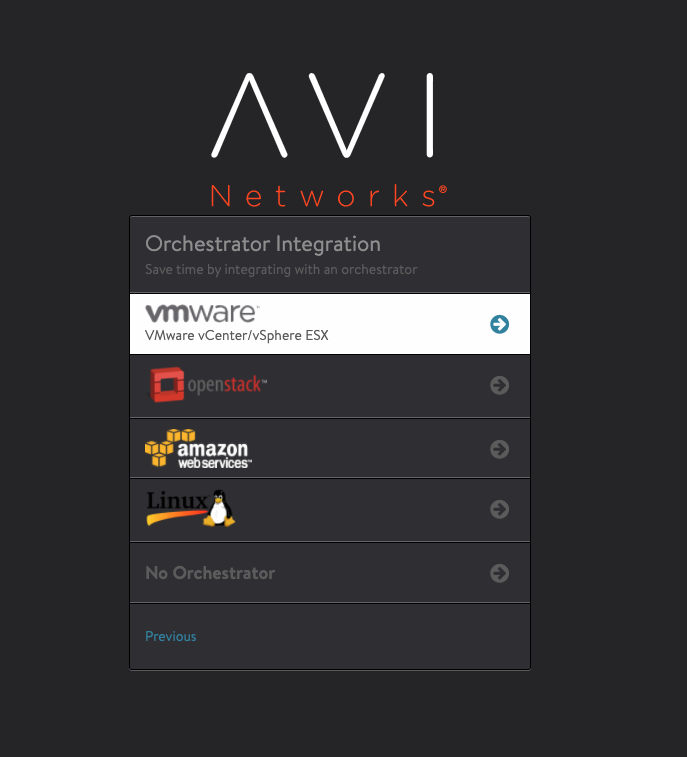
Select vCenter as the Orchestrator Integration
-
Specify the vCenter details with
Writepermissions. Skip SDN Integration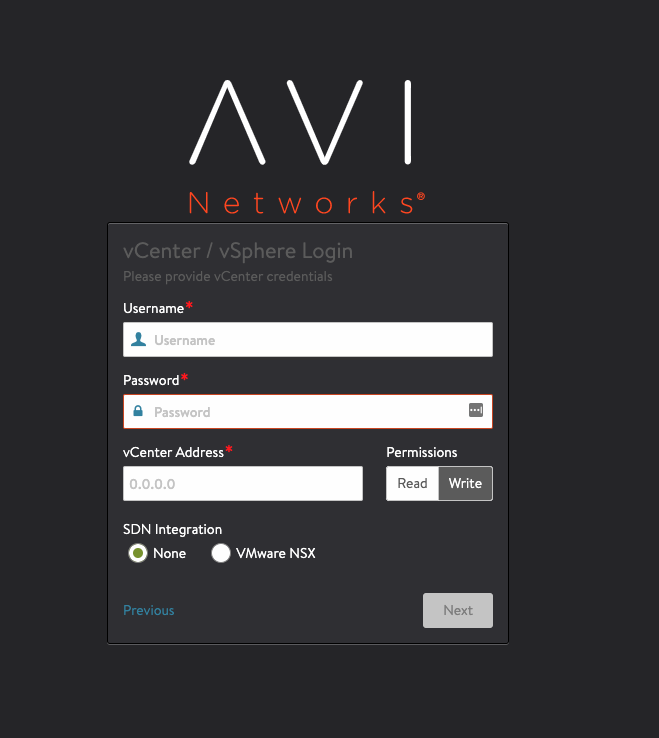
-
Select the datacenter

-
Select the Management network and define the IP Pool
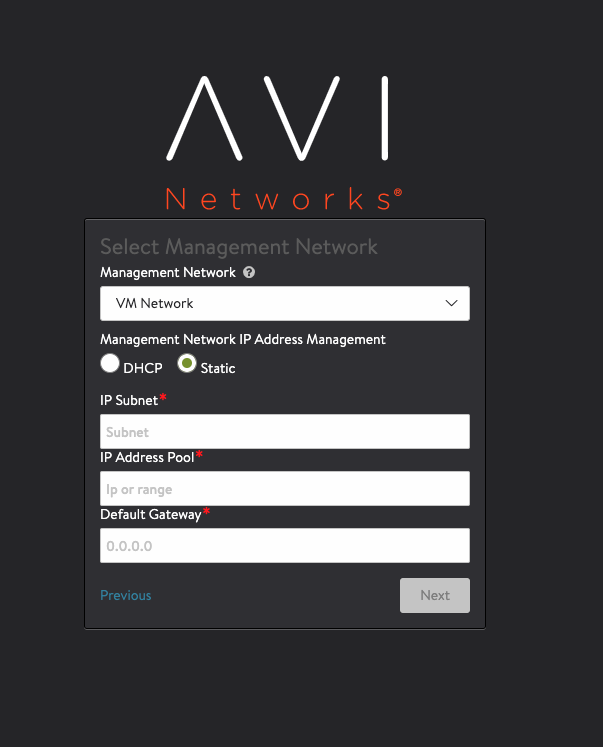
-
Select
NOin tenant settings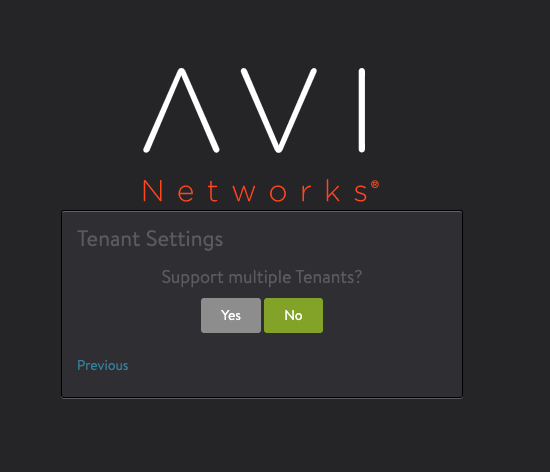
-
That’s the initial setup

-
Click on
Templatesin the top left besideApplications - Go into IPAM/DNS Profiles and create the following:
- IPAM Profile
- Name: k8s-ipam-profile
- Type: Avi Vantage IPAM
- Allocate IP in VRF is
Checked - Avi Vantage IPAM Configuration
- Cloud for Usable Network:
Default-Cloud - Usable Network:
EDGE-UPLINK-PG
- Cloud for Usable Network:
- DNS Profile
- Name: k8s-dns-profile
- Type: Avi Vantage DNS
- Avi Vantage DNS Configuration
- Default Record TTL for all domains:
30 - Domain Name:
tkg.lab.int
- Default Record TTL for all domains:

- IPAM Profile
-
Next associate the DNS and IPAM profiles to the
Default-Cloud, which is under Infrastructure > Clouds
- Click on
Templatesin the top left besideSecurity>SSL/TLS Certificates>CREATE>Controller Certificate- Name:
avi.lab.int - Common Name:
avi.lab.int - Subject Alertnate Name (SAN):
avi.lab.int
NOTE: If you don’t provide SAN, then the pod under the namespace
tkg-system-networkingin management cluster, will throw SSL validation errors - Name:
- Click on
Administration>Settings>Access Settings, and edit the configuration to use the SSL Certificate that you generated above. Remove all the other certificates from there
Install TKGm 1.3 on vSphere
-
Begin with downloading the TKG cli from VMware Downloads, and look for Tanzu Kuberenets Grid, Release 1.3
-
The official documantation is here
-
Once downloaded tanzu-cli-bundle-darwin-amd64.tar, untar the contents into a folder, and add it into your
PATHtar xf tanzu-cli-bundle-darwin-amd64.tar cli/ cp cli/core/v1.3.0/tanzu-core-darwin_amd64 /usr/local/bin/tanzu chmod +x /usr/local/bin/tanzu -
Install all the plugins that came in the tarball
tanzu plugin install --local cli all -
Download the Kubernetes OVA/s 1.20.x, import the OVA/s, and convert them into templates
-
Next run the
tanzu management-cluster create init --ui, which will open your browser pointing tohttp://127.0.0.1:8080/#/ui
-
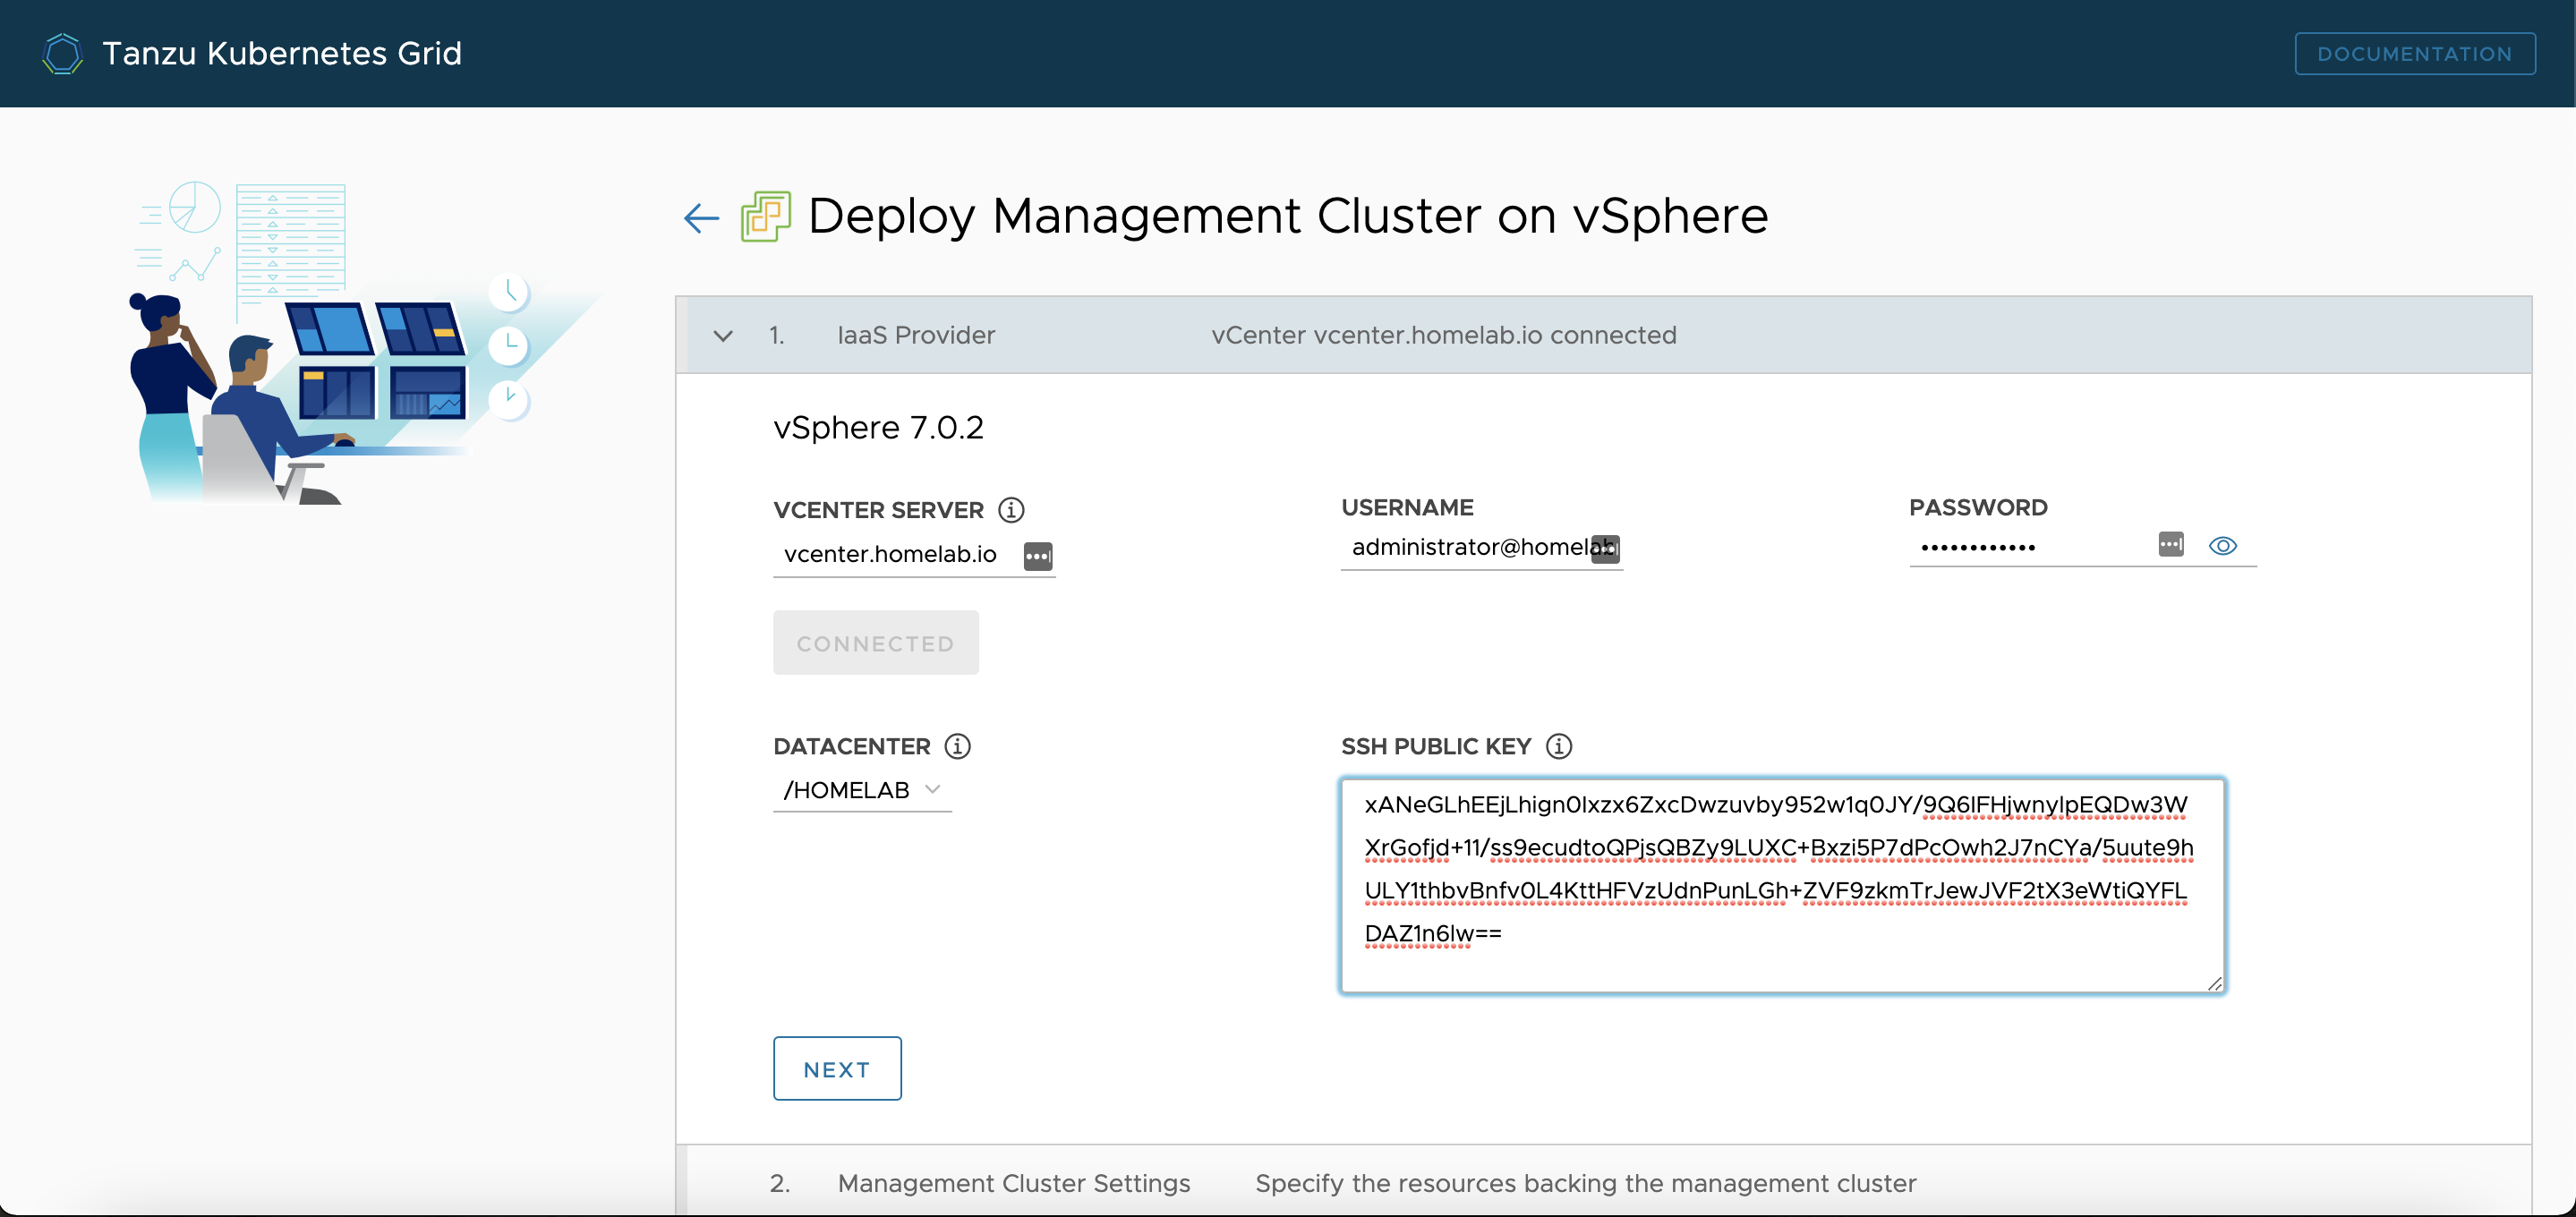
Follow the steps to configure the vSphere IaaS
-
You would be presented with 2 options, to either use vSphere with Tanzu, or to use the non-integrated version, so proceed with the second option
-
Generate a ssh key:
ssh-keygen -b 4096. And copy the contents of the public key into the UI - Select the Instance Type from
DevelopmentorProduction. For ex:- Management Cluster Name:
tkg-mc - Virtual IP Address:
172.16.0.192<– This is an IP that belongs to the subnet that has DHCP enabled, but in the reserved range - Machine Health Checks:
Enable - Worker Node Instance Type:
small

- Management Cluster Name:
- VMware NSX Advanced Load Balancer
- Controller Host:
avi.lab.int - Username:
admin - Password:
password - Cloud Name:
Default-Cloud - Service Enginer Group Name:
Default-Group - VIP Network Name:
EDGE-UPLINK-PG«– Network that was used in the AVI setup that has the static IP’s for the VIP - VIP Network CIDR:
172.16.0.0/16«– Has to the same as what you defined during the AVI setup -
Controller Certificate Authority: «– Paste the public certificate for the controller here
- Cluster Labels: «– Use this carefully, if you miss defining this label while creating the workload clusters, then those clusters will not have the ako pod created in that cluster

- Controller Host:
-
Optionally specify any Metadata

-
Configure the Resources

-
Select the network that has DHCP enabled

-
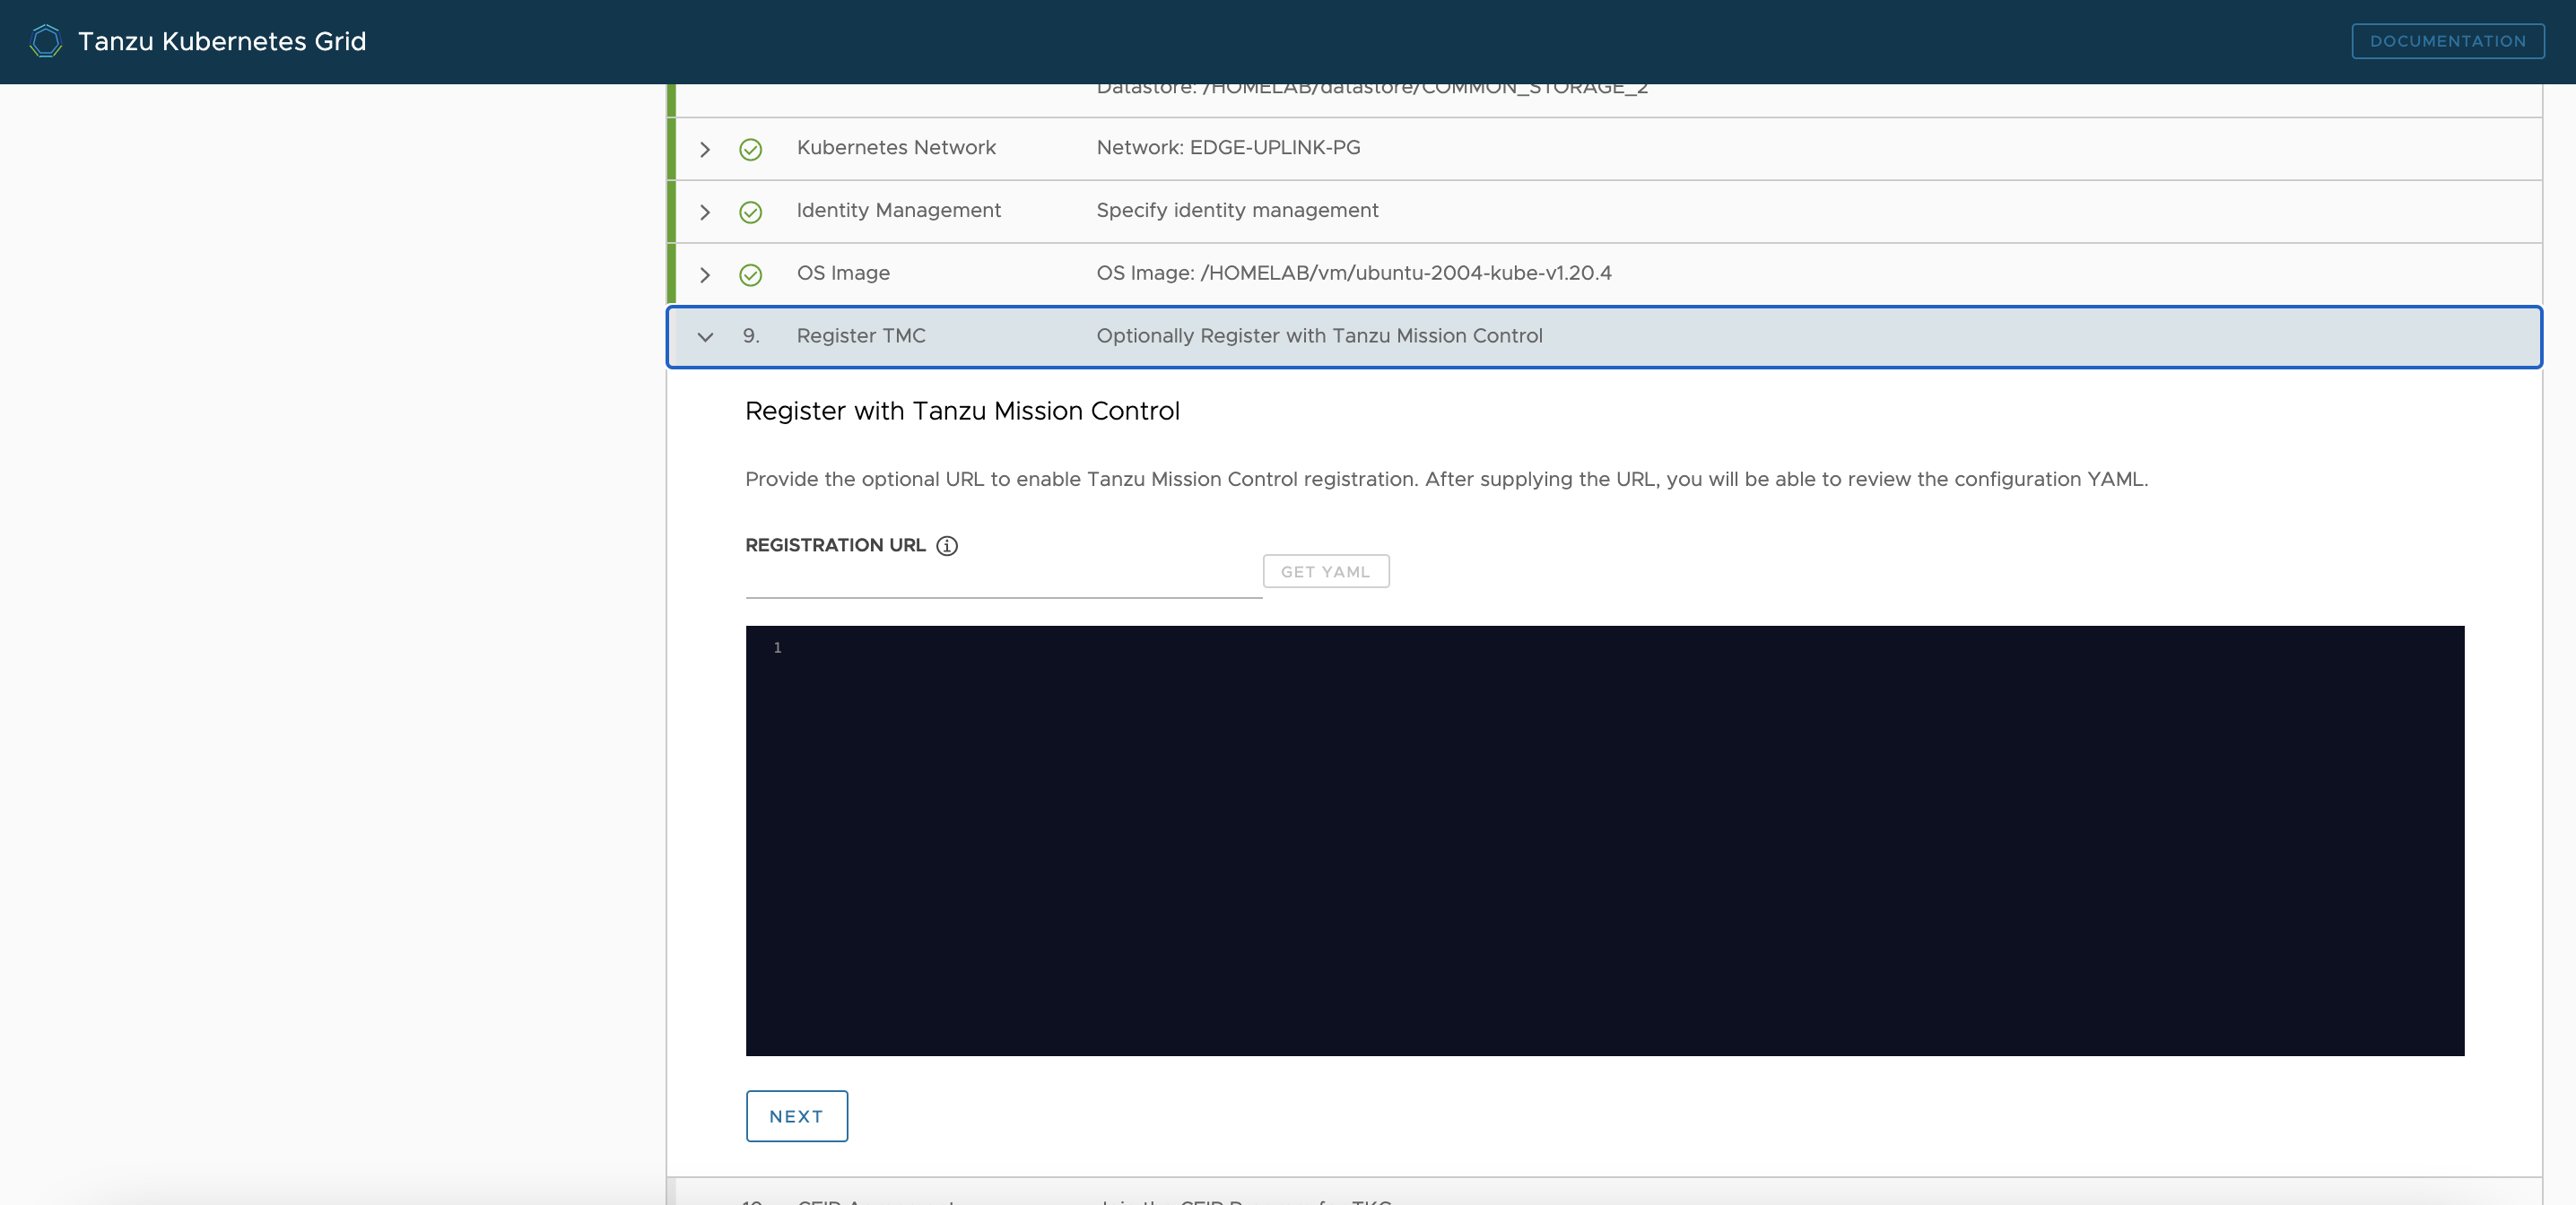
Identiy Management, I chose to disable that

-
Select the OS Image, its the template that you imported earlier

-
Register TMC
-
CEIP Agreement

-
Next Review the configuration, and edit the configuration if you find anything wrong
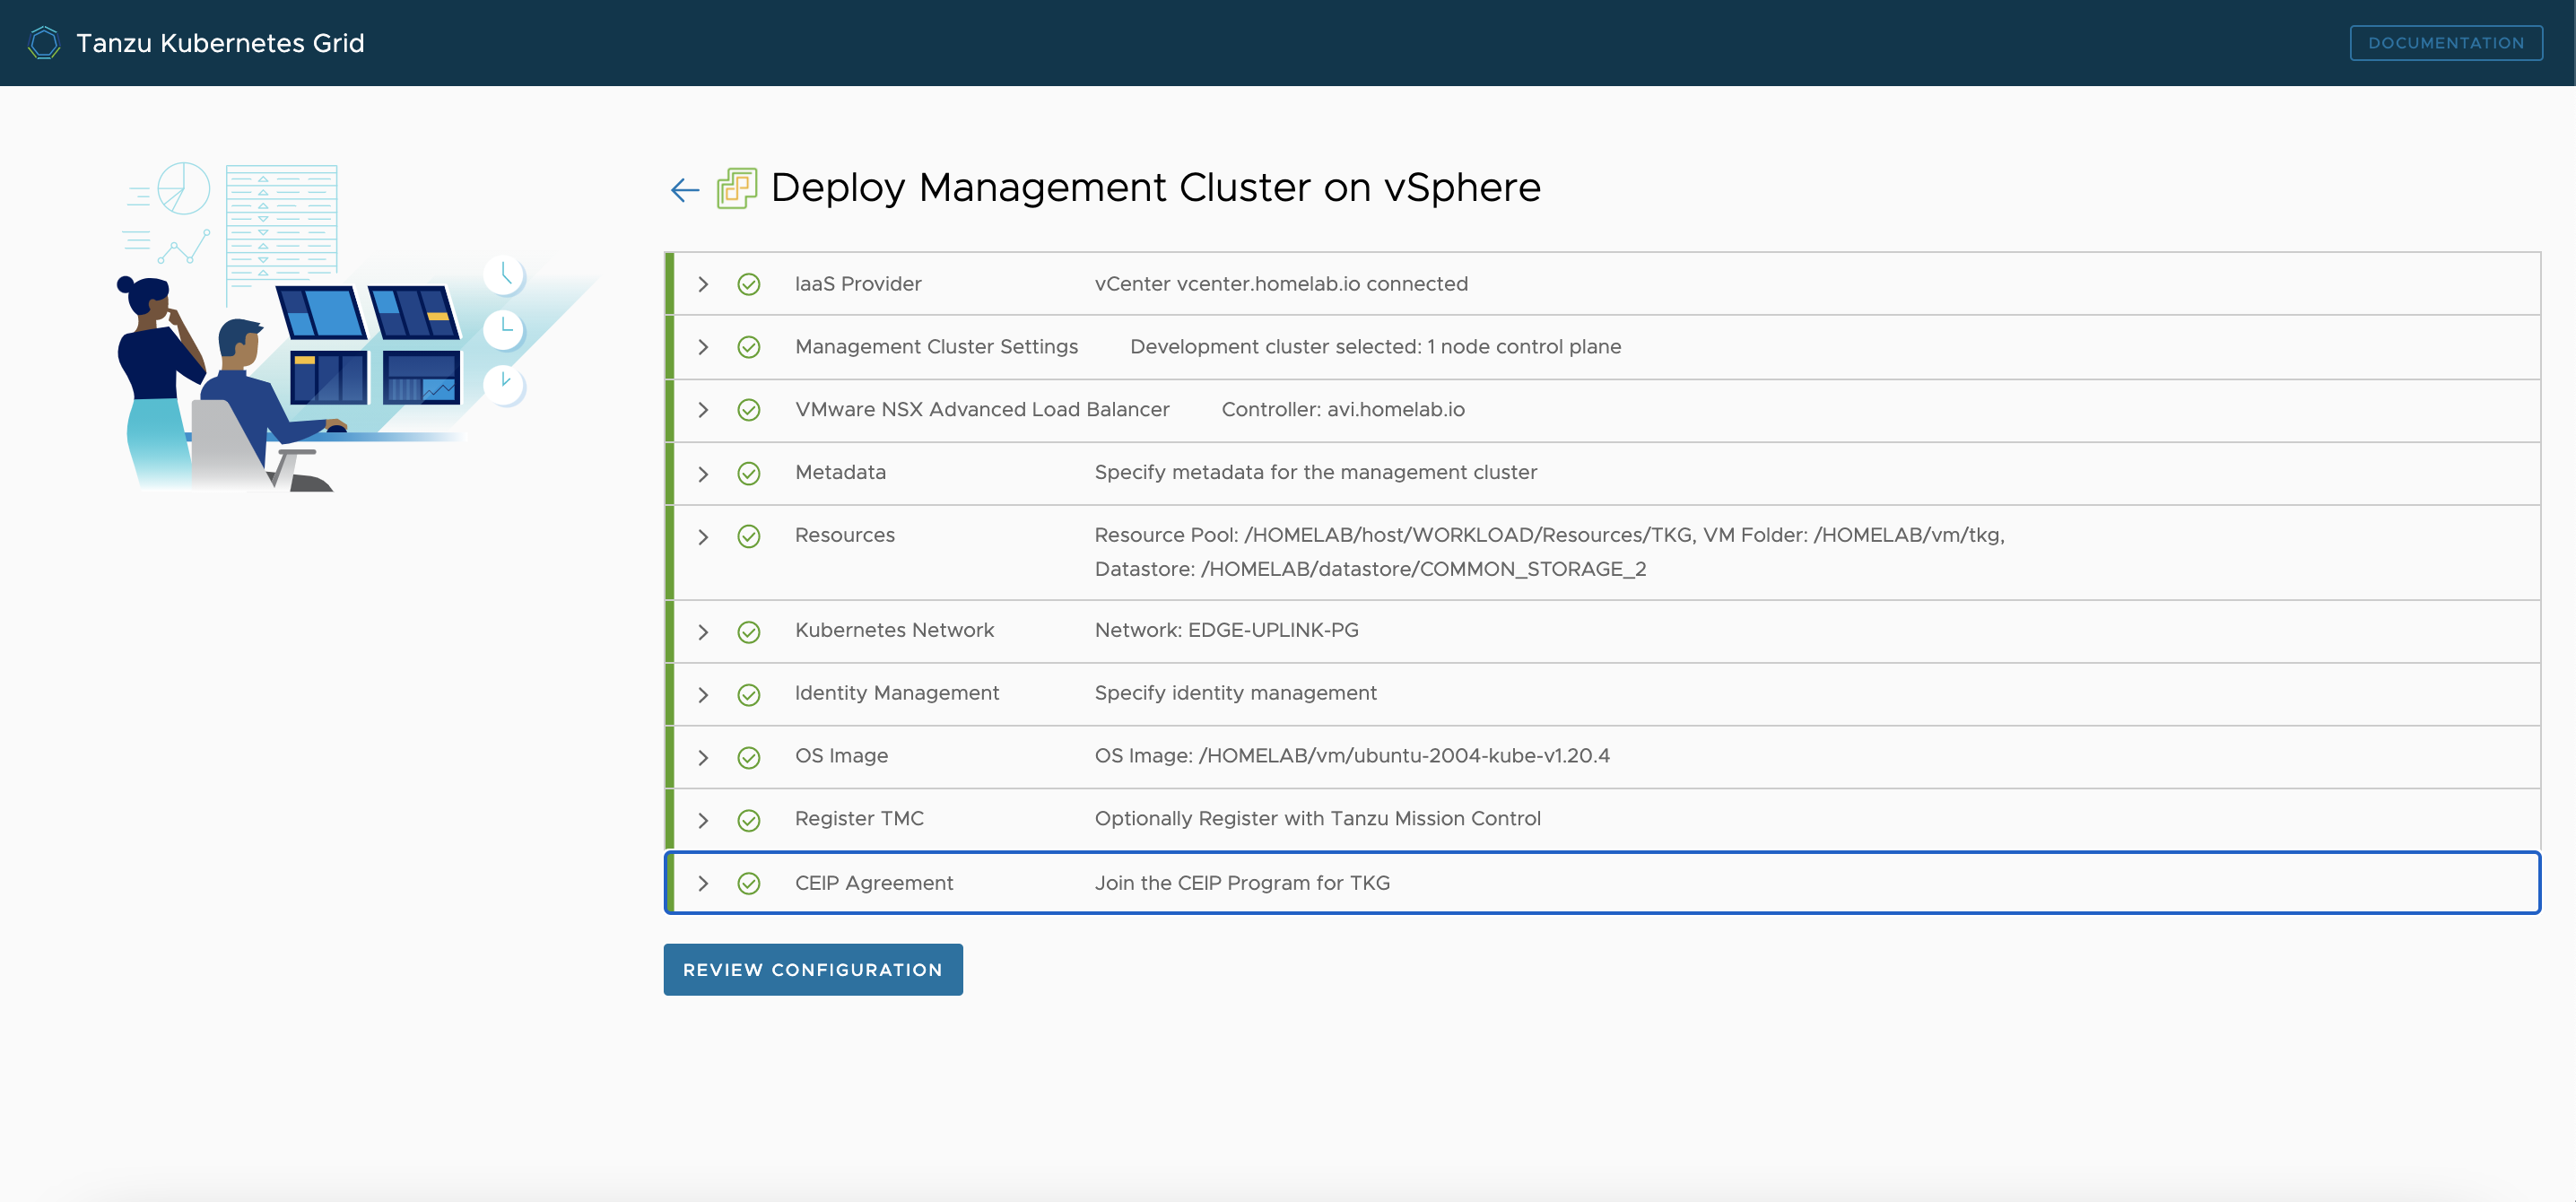
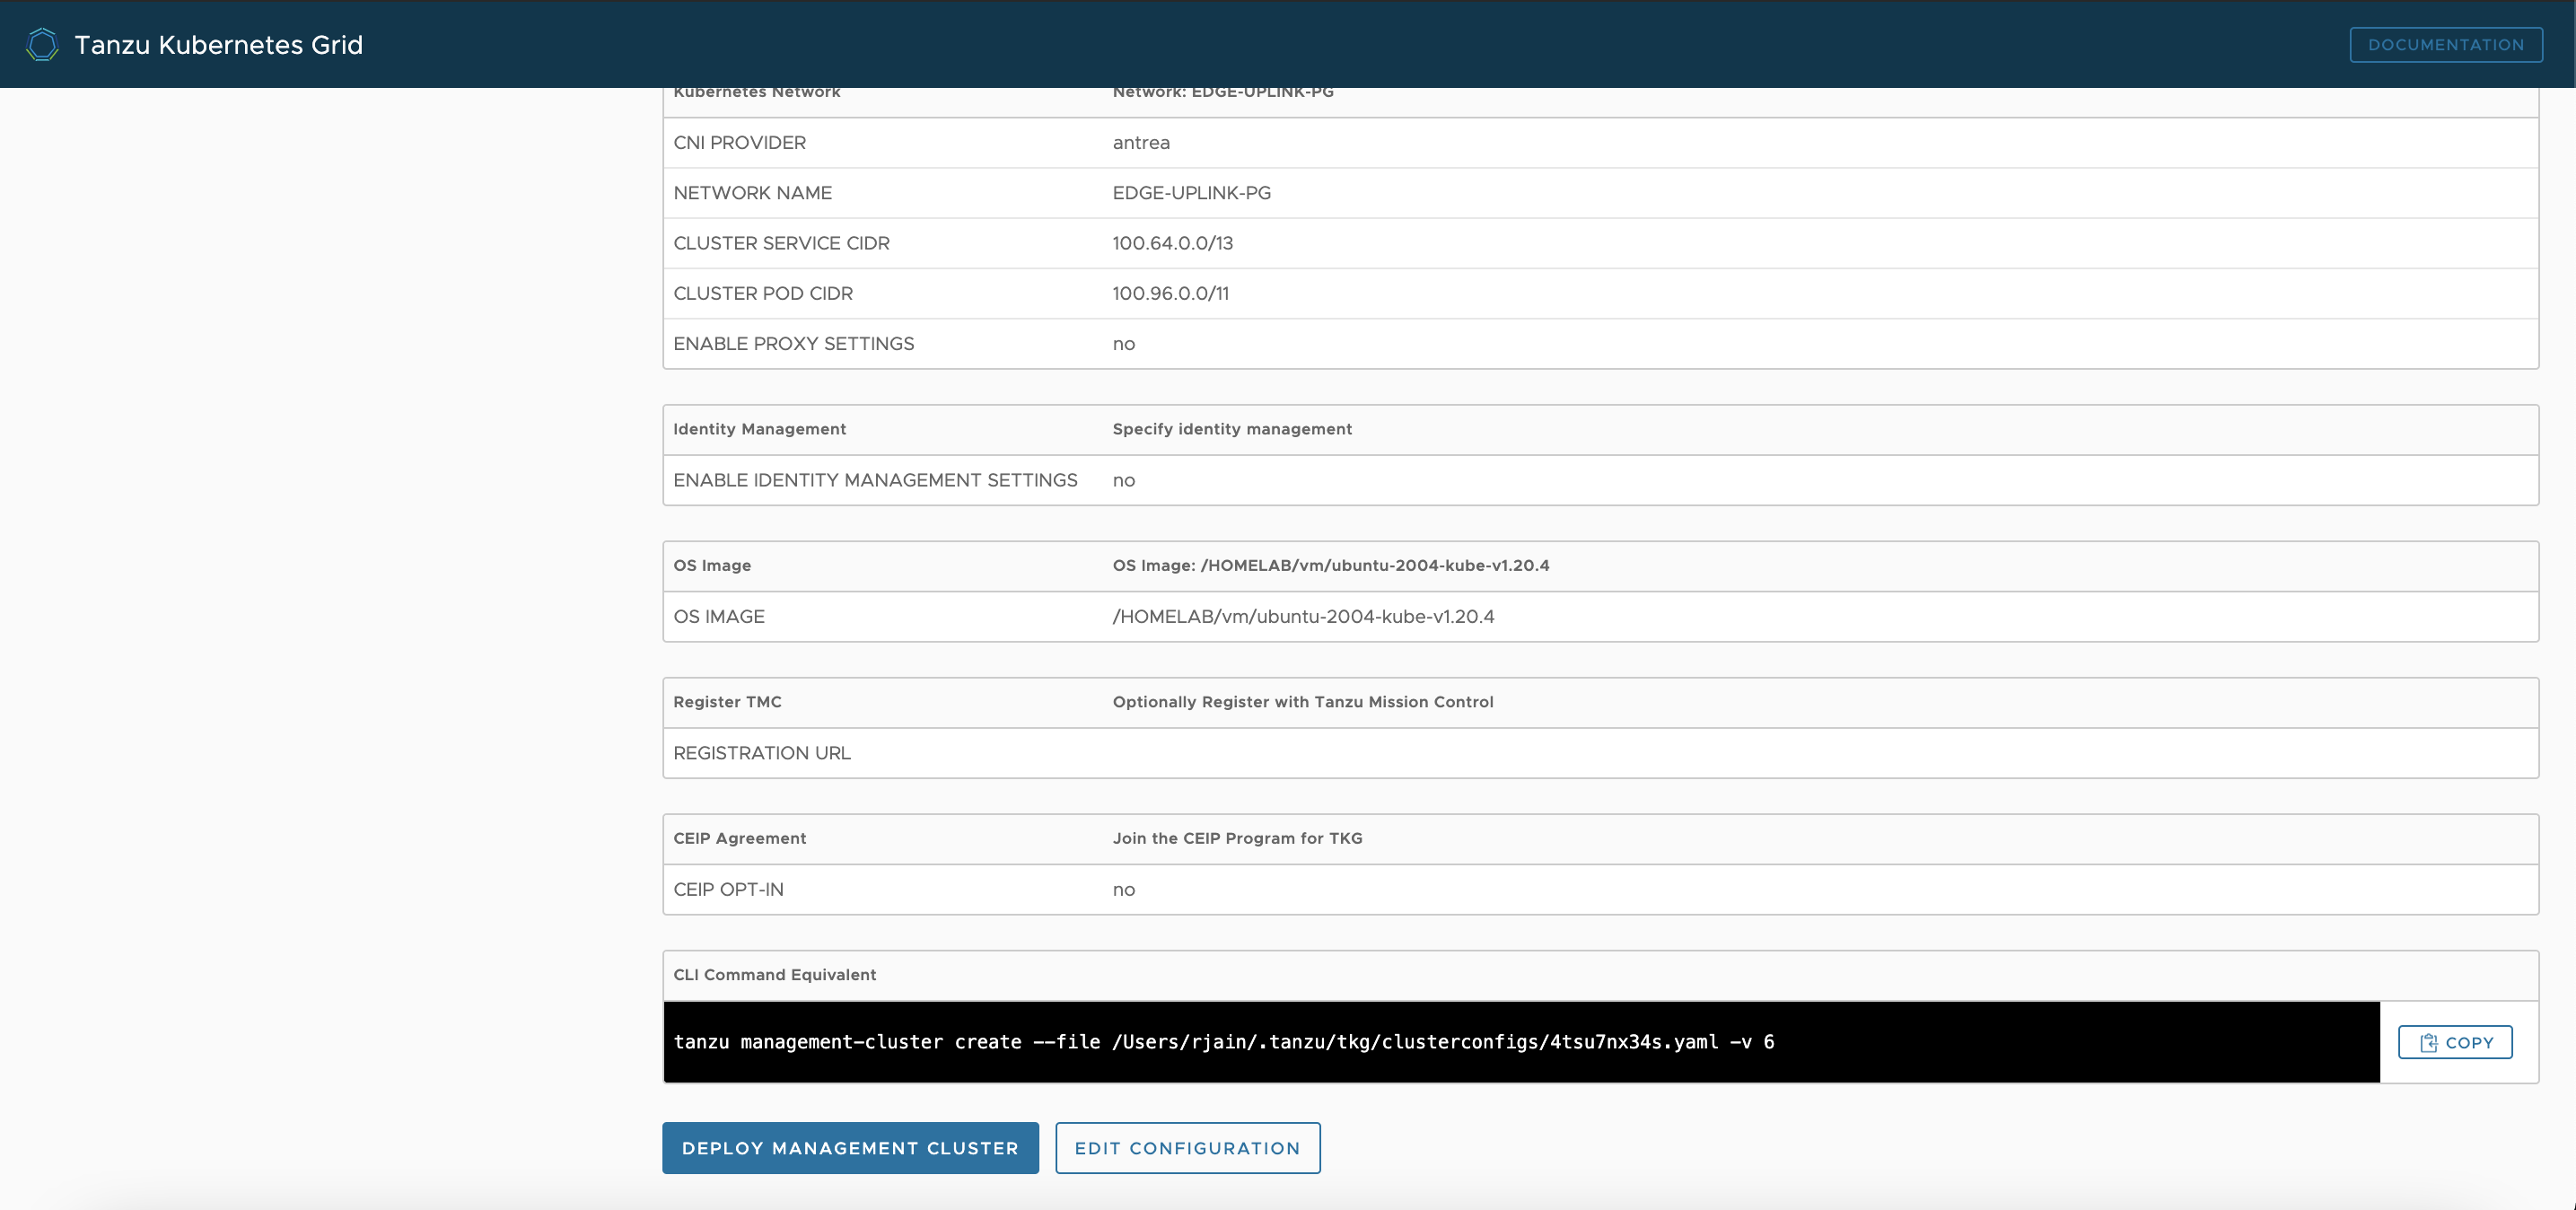


-
Wait till you see the output as below:
tanzu management-cluster create init --ui

  Validating the pre-requisites...
  Serving kickstart UI at http://127.0.0.1:8080
  Identity Provider not configured. Some authentication features won't work.
  Validating configuration...
  web socket connection established
  sending pending 2 logs to UI
  Using infrastructure provider vsphere:v0.7.6
  Generating cluster configuration...
  Setting up bootstrapper...
  Bootstrapper created. Kubeconfig: /Users/rjain/.kube-tkg/tmp/config_5wnQOvuj
  Installing providers on bootstrapper...
  Fetching providers
  Installing cert-manager Version="v0.16.1"
  Waiting for cert-manager to be available...
  Installing Provider="cluster-api" Version="v0.3.14" TargetNamespace="capi-system"
  Installing Provider="bootstrap-kubeadm" Version="v0.3.14" TargetNamespace="capi-kubeadm-bootstrap-system"
  Installing Provider="control-plane-kubeadm" Version="v0.3.14" TargetNamespace="capi-kubeadm-control-plane-system"
  Installing Provider="infrastructure-vsphere" Version="v0.7.6" TargetNamespace="capv-system"
  Start creating management cluster...
  Saving management cluster kubeconfig into /Users/rjain/.kube/config
  Installing providers on management cluster...
  Fetching providers
  Installing cert-manager Version="v0.16.1"
  Waiting for cert-manager to be available...
  Installing Provider="cluster-api" Version="v0.3.14" TargetNamespace="capi-system"
  Installing Provider="bootstrap-kubeadm" Version="v0.3.14" TargetNamespace="capi-kubeadm-bootstrap-system"
  Installing Provider="control-plane-kubeadm" Version="v0.3.14" TargetNamespace="capi-kubeadm-control-plane-system"
  Installing Provider="infrastructure-vsphere" Version="v0.7.6" TargetNamespace="capv-system"
  Waiting for the management cluster to get ready for move...
  Waiting for addons installation...
  Moving all Cluster API objects from bootstrap cluster to management cluster...
  Performing move...
  Discovering Cluster API objects
  Moving Cluster API objects Clusters=1
  Creating objects in the target cluster
  Deleting objects from the source cluster
  Context set for management cluster tkg-mc as 'tkg-mc-admin@tkg-mc'.

  Management cluster created!


  You can now create your first workload cluster by running the following:

      tanzu cluster create [name] -f [file]
Note: If the cluster deployment fails, it could be possible that the DNS settings are wrong, or DHCP is not enabled. Also it could be that the vcenter host is not resolving, so you might want to use the IP instead.
- If all goes well, then you can copy over the management cluster yaml from
~/.tanzu/tkg/clusterconfigs/some.yamlto your working directory. Then modify the contents in that file to add/edit the following fields:CLUSTER_NAME: k8s1 VSPHERE_CONTROL_PLANE_ENDPOINT: 172.16.0.193 CONTROL_PLANE_MACHINE_COUNT: 1 WORKER_MACHINE_COUNT: 3 -
You can now create your very first workload cluster
> tanzu cluster create k8s1 -f k8s1-cluster.yaml

  Validating configuration...
  Failed to configure Pinniped configuration for workload cluster. Please refer to the documentation to check if you can configure pinniped on workload cluster manually
  Creating workload cluster 'k8s1'...
  Waiting for cluster to be initialized...
  Waiting for cluster nodes to be available...
  Waiting for addons installation...

  Workload cluster 'k8s1' created
Note: You are providing the static IP here for the kubernetes VIP that’s configured on the control plane, to handle all the API calls
- Next step is to get the cluster credentials:
> tanzu cluster kubeconfig get --admin k8s1 Credentials of workload cluster 'k8s1' have been saved You can now access the cluster by running 'kubectl config use-context k8s1-admin@k8s1' - Now, set the kubectl context to the above cluster
k config use-context k8s1-admin@k8s1
Deploying workloads
Goal is to deploy a test application, and access it via the LoadBalancer IP, that would be allocated by the AVI controller.
-
Here is a sample
deployment.yaml, that deploys a pod, and exposes the pod, using a service typeLoadBalancer--- kind: ConfigMap apiVersion: v1 metadata: name: app-config data: greetingMessage: "Hi from k8s deployment!!" --- apiVersion: apps/v1 kind: Deployment metadata: labels: app: sample-k8s-app name: sample-k8s-app spec: replicas: 2 selector: matchLabels: app: sample-k8s-app strategy: {} template: metadata: labels: app: sample-k8s-app spec: containers: - image: rjain/sample-k8s-app name: sample-k8s-app resources: {} envFrom: - configMapRef: name: app-config status: {} --- apiVersion: v1 kind: Service metadata: labels: app: sample-k8s-app name: sample-k8s-app namespace: default spec: ports: - port: 80 protocol: TCP targetPort: 8080 selector: app: sample-k8s-app type: LoadBalancer -
Next, lets deploy this application into the
k8s1cluster:k apply -f deployment.yaml configmap/app-config created deployment.apps/sample-k8s-app created service/sample-k8s-app created -
During this process, if you notice that the service is taking a while to get a external ip, then the reason would be that avi controller is provisioning Service Engines in the background, to handle the traffic to the pods
-
Query again for the services:
k get svc NAME TYPE CLUSTER-IP EXTERNAL-IP PORT(S) AGE kubernetes ClusterIP 100.64.0.1 <none> 443/TCP 59m sample-k8s-app LoadBalancer 100.70.208.41 172.16.0.176 80:31874/TCP 6m41s -
Finally, lets validate the sample app, by accessing the external ip:
  curl http://172.16.0.176/hello

  {"greetingMessage":"Hi from k8s deployment!!"}